Mason Jar Kitchen Decor DIY: Top 5 Ideas
Transform your kitchen into a charming and personalized space with the timeless appeal of mason jar decor. Mason jars, with their versatility and rustic charm, are perfect for a wide range of DIY projects, from functional storage solutions to eye-catching decorative accents. This guide unveils five inspiring ideas to integrate mason jars into your kitchen, offering step-by-step instructions and creative suggestions to elevate your culinary haven. Whether you’re a seasoned crafter or a beginner, these projects promise a rewarding experience and a beautifully enhanced kitchen.
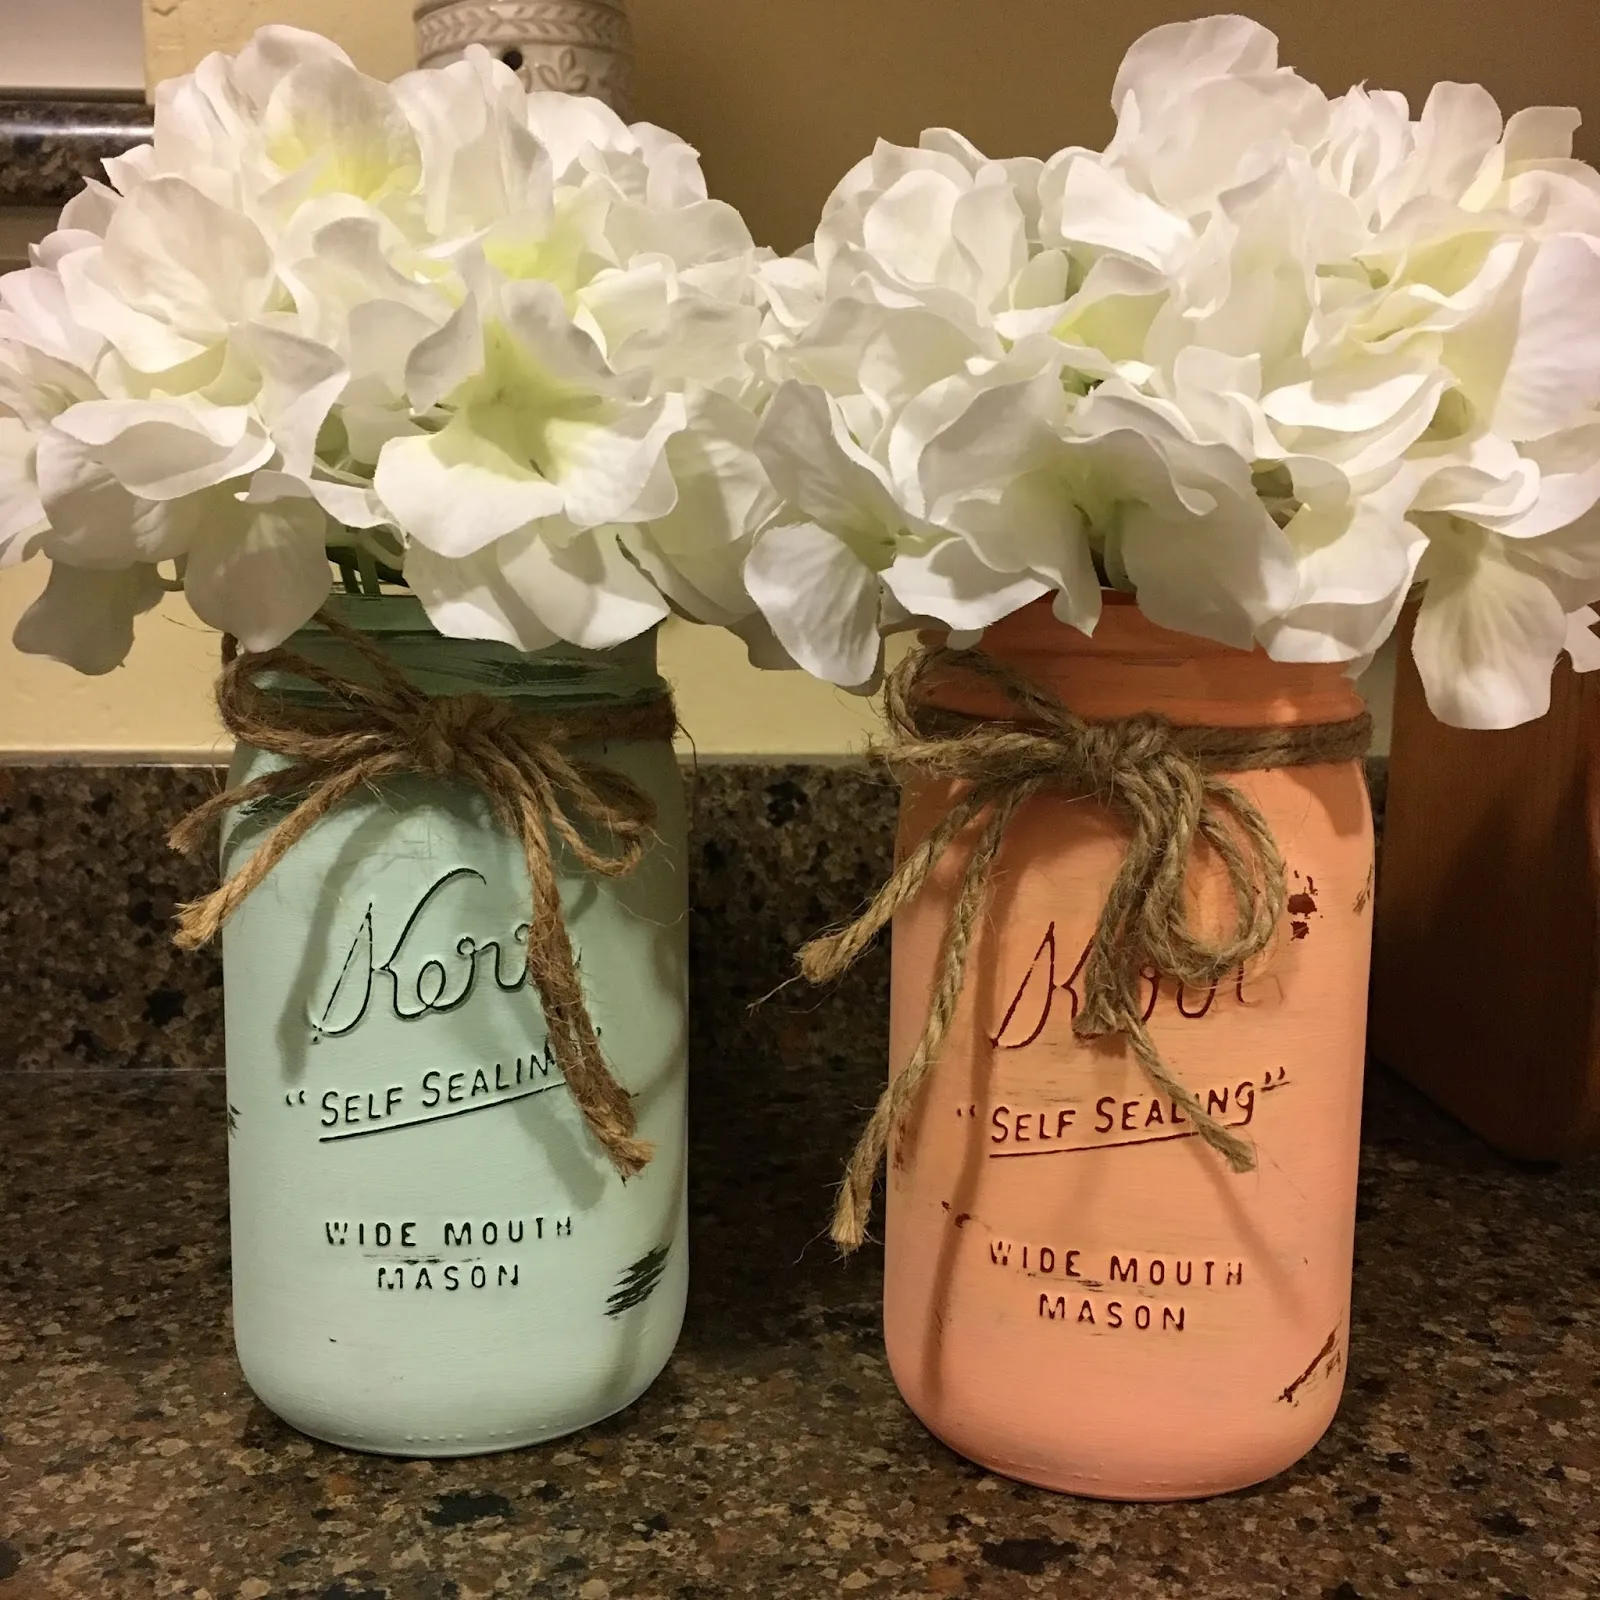
Crafting Mason Jars: Getting Started
Before diving into the individual projects, it’s crucial to understand the basics of working with mason jars. Ensure you have a clean and well-lit workspace. Always prioritize safety, wearing protective eyewear and gloves when handling materials like adhesives or paint. A good approach is to gather all the necessary materials for each project beforehand to streamline the crafting process. This will prevent any interruptions and allow you to focus on the creative aspects of your DIY projects. With these preparation tips, your DIY journey will be both enjoyable and successful.
Gathering Materials

The beauty of mason jar projects lies in their affordability and accessibility. You’ll primarily need mason jars in various sizes, depending on the project. Other essential materials include paint (chalk paint, acrylic paint), brushes, stencils, twine, sandpaper, glue (hot glue, super glue), and decorative items such as ribbons, labels, and faux flowers. Always consider safety aspects and use appropriate personal protective equipment when working with different materials like adhesives or cutting tools. Visit your local craft store or browse online to gather these affordable and readily available supplies. You may also reuse materials that you have at home, from ribbons to buttons and other craft supplies to enhance your project.
Idea 1: Mason Jar Herb Garden
Bring freshness and flavor to your kitchen with a mason jar herb garden. This project is both practical and aesthetically pleasing, allowing you to grow your favorite herbs right on your countertop or windowsill. Not only does it add a touch of nature to your kitchen, but it also provides you with fresh herbs to enhance your culinary creations. Consider it a healthy way to add visual charm to your kitchen space. This is a great way to have all your favorite herbs and create a beautiful and functional decoration at the same time.
Selecting Herbs
Choose herbs that thrive indoors and complement your cooking preferences. Popular choices include basil, mint, oregano, chives, parsley, and rosemary. Consider the light requirements of each herb to ensure optimal growth. Group herbs with similar needs together. For example, basil and mint prefer bright, indirect light, while rosemary and oregano can tolerate more direct sunlight. When selecting your herbs, consider starting from seeds or purchasing small potted plants. Ensure you have good drainage in each jar. This way your herbs will be happy in their new home and provide you with the freshest ingredients in your cooking.
Preparing the Jars

Clean and dry the mason jars thoroughly. If desired, paint the jars to match your kitchen decor. Use chalk paint for a rustic look or acrylic paint for a more modern touch. After the paint dries, you can add decorative touches. This can involve adding labels to identify the herbs, tying twine around the top of the jars, or even adding decorative accessories such as ribbons, burlap, or even small wooden tags. Add a layer of gravel or small stones at the bottom of each jar for drainage. Then add potting soil and carefully transplant your herbs into the jars, taking extra care not to damage the roots. Water them gently and place them in a location where they receive adequate sunlight.
Idea 2: Mason Jar Utensil Holder
Keep your cooking utensils organized and within reach with a stylish mason jar utensil holder. This project is both functional and adds a touch of rustic charm to your countertop. It’s a simple and effective way to keep your kitchen tidy and your utensils easily accessible while also adding some visual appeal to the kitchen space. This project can also be used as a decorative item for a kitchen. To make the best utensil holder, you need to make sure that you have all your utensils in one place and accessible at any moment.
Choosing Jar Sizes
Select mason jars based on the quantity and size of your utensils. Larger jars are ideal for holding a greater number of utensils, while smaller jars can be used for specific tools or to create a tiered effect. Choose jars of different sizes to accommodate various utensil shapes and sizes. This will add visual interest and ensure a well-organized holder. Consider the overall aesthetic of your kitchen and select jars that complement your existing decor. Mason jars come in a variety of styles, from clear glass to tinted and patterned options. So, you will surely find one that suits your kitchen perfectly.
Decorating the Jars

Personalize your utensil holders to match your kitchen’s theme. Paint the jars in your favorite colors or add stenciled designs. You can create a cohesive look by using a consistent color palette or a particular style of embellishment. To create a rustic look, use chalk paint, distress the edges, and add twine or burlap. For a modern look, use sleek colors and add metallic accents, like gold or copper. Another great way to decorate the jars is by adding labels with the names of utensils. Adding labels will make your kitchen even more organized. Place your utensils inside the decorated jars and arrange them on your countertop or in any other accessible place in your kitchen.
Idea 3: Mason Jar Pendant Lights
Illuminate your kitchen with charming mason jar pendant lights. This project adds a unique and rustic touch, providing both functional lighting and aesthetic appeal. This project requires a bit more effort, but the end result is a beautiful and unique lighting fixture that will enhance the ambiance of your kitchen. It’s a great way to add a personal touch and create a warm, inviting atmosphere. Make sure to take all the safety measures before installing the pendant lights.
Safety First
Safety is paramount when working with electrical components. Ensure you disconnect the power before starting any electrical work. Use UL-listed components, and follow all safety instructions provided with the electrical kits. Carefully handle wires and connections, and if you are not confident in your electrical skills, consider hiring a professional electrician. Proper insulation and secure connections are essential for preventing electrical hazards. Always double-check your work before restoring power to the circuit. Make sure to use the necessary equipment to complete this project safely, like protective eyewear, gloves, and the right cutting and measuring tools.
Assembling the Lights

Purchase pendant light kits that include wiring, sockets, and ceiling fixtures. Drill a hole in the mason jar lid to accommodate the wiring. Insert the socket and wire through the lid, securing it in place. Attach the wiring according to the manufacturer’s instructions. Choose light bulbs that complement the aesthetic of your kitchen (LEDs are recommended for energy efficiency). Once the wiring is complete, screw the lid onto the mason jar. Install the pendant light fixture on your ceiling. Arrange the lights above your kitchen island or dining area for the perfect ambiance. Remember to test the lights after installation to make sure everything is connected correctly and working properly.
Idea 4: Mason Jar Soap Dispenser
Elevate your kitchen’s functionality and style with a DIY mason jar soap dispenser. This project is not only practical but also adds a touch of elegance to your sink area. By repurposing a mason jar, you create an attractive and eco-friendly alternative to store-bought soap dispensers. This also provides an opportunity to customize the dispenser, matching your kitchen’s aesthetic perfectly.
Selecting the Pump
Choose a pump that complements the size and style of your mason jar. Select pumps made of durable materials such as stainless steel or plastic. Ensure the pump thread fits the jar’s lid or opening. Consider the design of the pump; a brushed nickel pump offers a modern look, while a bronze one lends a vintage feel. You can often find pump mechanisms at craft stores or online retailers. Make sure the pump is easy to use and dispenses the soap efficiently without dripping. This will ensure that the dispenser is both functional and aesthetically pleasing. Choose a pump that complements your kitchen décor.
Assembling the Dispenser

Clean the mason jar and lid thoroughly. Drill a hole in the center of the lid to fit the pump stem. Insert the pump stem through the hole and secure it using the pump’s locking mechanism. Test the pump for any leaks before inserting the lid. Decorate the jar as desired. You can paint the jar, add labels, or decorate it to match your kitchen decor. Fill the jar with your favorite liquid soap. Screw the lid with the pump onto the jar. Place the dispenser by your kitchen sink for convenient and stylish handwashing. Ensure you fill the jar with soap to the appropriate level.
Idea 5: Mason Jar Storage Containers
Organize your kitchen with versatile mason jar storage containers. They are ideal for storing dry goods like flour, sugar, pasta, and grains, helping keep your pantry tidy and your ingredients fresh. These containers are an excellent way to add both functionality and decorative appeal to your kitchen. They also help you to easily view and access the contents. This project is a great way to make sure you keep your kitchen in perfect order.
Choosing Containers
Select mason jars in various sizes to accommodate different types of ingredients. Wide-mouth jars are ideal for easy filling and access. Choose jars with airtight lids to maintain the freshness of your stored goods. Consider clear jars to easily identify the contents or opt for tinted jars to protect ingredients from light exposure. Decide which sizes will be the best for the different ingredients you will be storing. Choose a variety of sizes to meet the needs of your kitchen. Make sure that the jars have safe lids and are easy to open and close.
Customizing the Jars

Personalize your storage containers with labels to identify the contents. Use chalkboard labels for easy changes or create custom labels with your favorite fonts. Add decorative elements like twine, ribbons, or fabric accents to match your kitchen’s aesthetic. Paint the jars with chalkboard paint to write directly on them. Or, paint them with a design of your choice to add a touch of color and creativity. Arrange the jars on shelves, in your pantry, or on your countertops for an organized and visually appealing storage solution. Remember to arrange the jars in a way that allows you to easily access the ingredients.
Conclusion
With these five DIY mason jar kitchen decor ideas, you can transform your kitchen into a stylish and functional space. From herb gardens to pendant lights and storage solutions, mason jars offer endless possibilities for creative expression. Embrace the charm of rustic decor and personalize your kitchen with these easy and affordable projects. Enjoy the process of crafting and the satisfaction of creating a beautiful, organized, and welcoming kitchen. These mason jar DIY projects will not only enhance your kitchen’s functionality but also provide a sense of personal accomplishment and a stylish living space.